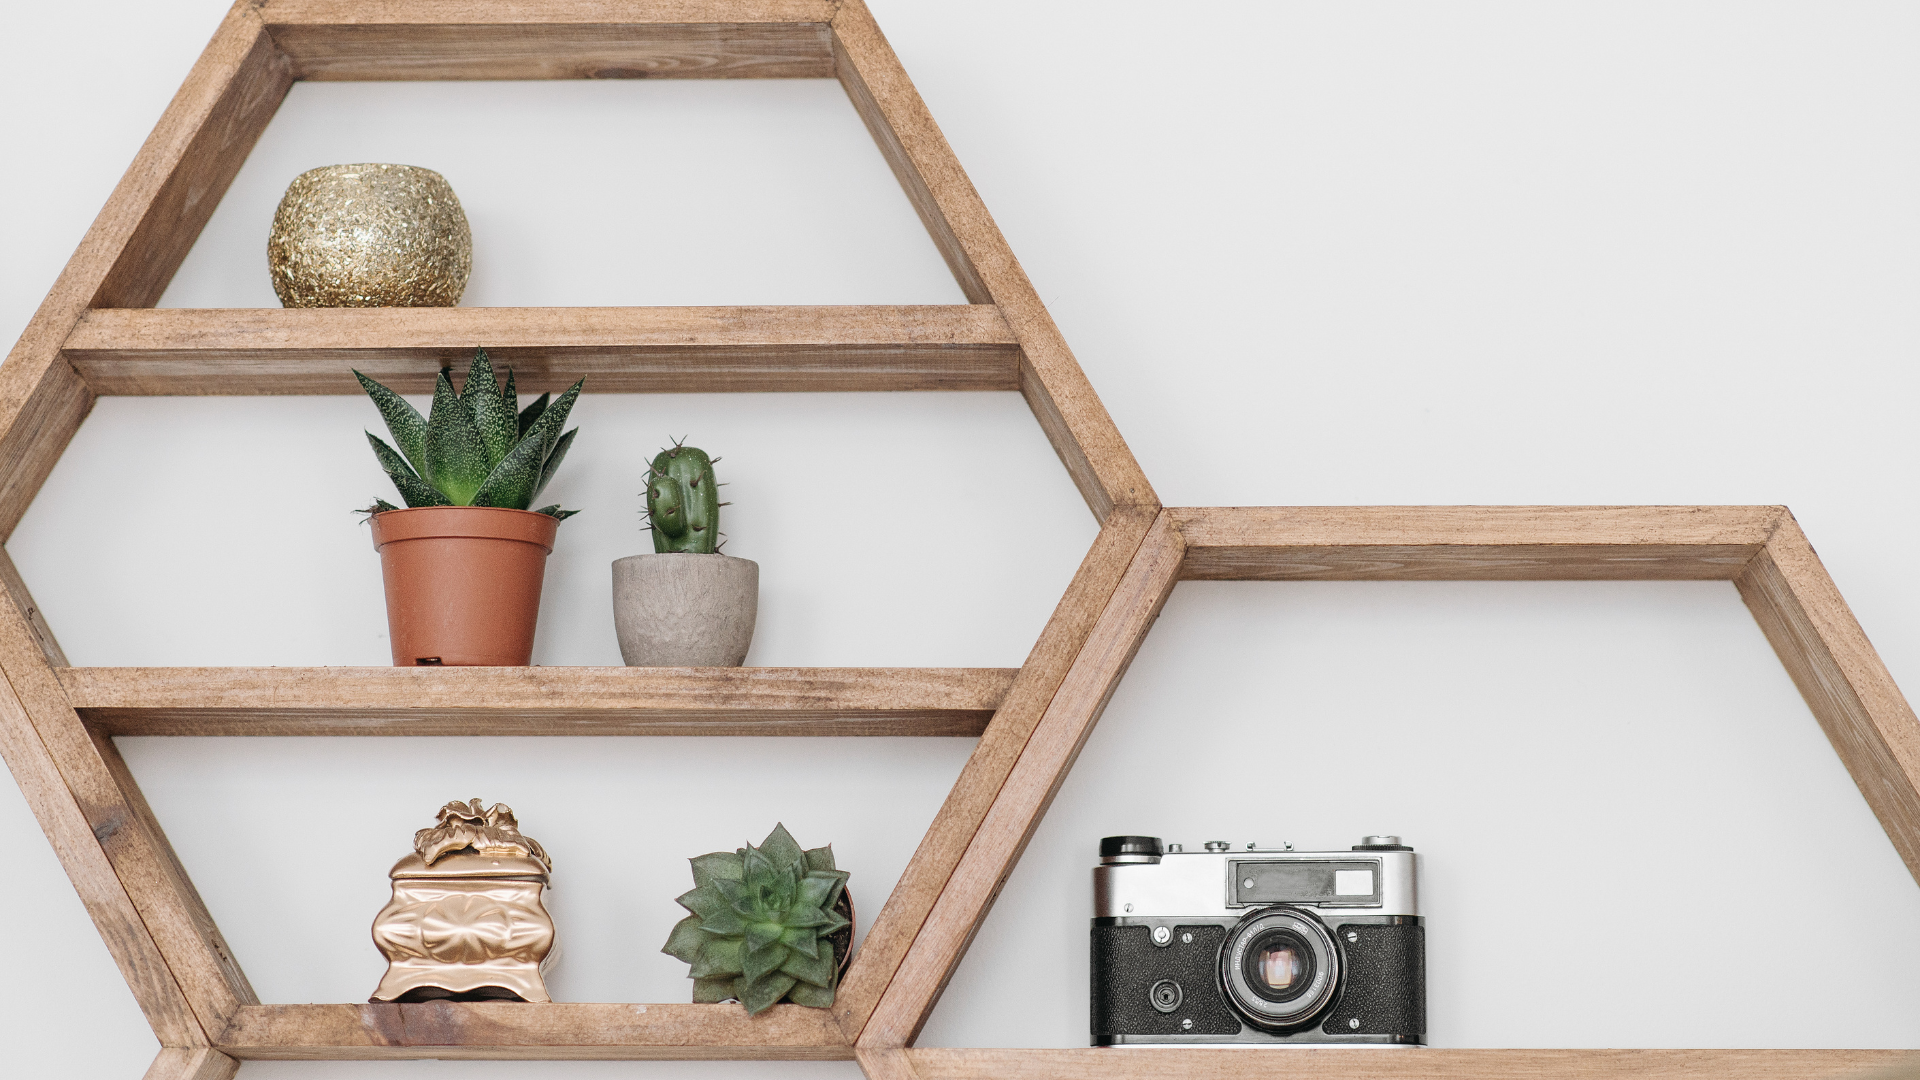
Floating shelves offer a stylish way to display decor while saving floor space. Building your own floating shelves allows for customization in size, material, and design to fit any room’s aesthetic. This DIY project is not only a fantastic home improvement initiative but also an opportunity to showcase personal creativity.
With just a few tools and materials, anyone can create functional and eye-catching shelves. The process involves selecting the right type of wood, determining placement, and ensuring sturdy installation. Whether it’s for books in the living room or plants in the kitchen, floating shelves can enhance the overall look and feel of a space.
This guide will walk through the steps necessary to craft beautiful floating shelves, making it accessible for both beginners and experienced DIY enthusiasts. By following clear instructions, individuals can bring their vision to life while adding value to their home.
Planning Your Floating Shelves
Effective planning is crucial when creating floating shelves. It involves assessing the available space, deciding on design and sizing, and choosing the right materials for the project.
Assessing Your Space
Before starting, it is important to evaluate the specific area where the shelves will be installed. Measure the wall space to ensure that the shelves will fit comfortably without overwhelming the room.
Consider the existing furniture and decor. Shelves should complement the space, both aesthetically and functionally.
Checklist for Assessing Your Space:
- Measure wall dimensions
- Note the proximity to furniture
- Consider room lighting and flow
Design and Sizing Considerations
Design plays a key role in how the shelves will look and function. Decide on the style—modern, rustic, or minimalist. A clear design vision helps with material selection and overall feasibility.
Next, determine the appropriate size. Floating shelves can vary in depth and length based on their intended use.
Sizing Guidelines:
- Depth: 8-12 inches for most items
- Length: proportional to wall space
- Height: consider eye level for accessibility
Choosing the Right Materials
Selecting the right materials ensures durability and appearance. Common choices for floating shelves include solid wood, plywood, and engineered wood. Each material has unique characteristics.
Materials Breakdown:
- Solid Wood: Strong and aesthetically pleasing; requires finishing.
- Plywood: Lightweight and cost-effective; may need veneer for a polished look.
- Engineered Wood: Affordable and available in various finishes; good for lighter items.
Choosing high-quality materials not only enhances aesthetics but also improves longevity and functionality.
Gathering Tools and Materials
The first step in building floating shelves is to gather the necessary tools and materials. Proper preparation is crucial for a successful project, ensuring everything needed is on hand for efficient construction.
Essential Tools for the Project
Key tools for building floating shelves include:
- Circular Saw: Perfect for cutting plywood to size. It ensures clean and precise cuts.
- Stud Finder: Utilized to locate wall studs. This is vital for securing shelves properly.
- Orbital Sander: Essential for smoothing the wood surfaces. It prepares the wood for finishing.
- Drill: Necessary for creating holes for screws. A drill can also drive screws into the wall securely.
Having the right tools on hand reduces the likelihood of interruptions during construction. Proper maintenance of tools extends their longevity and effectiveness.
Selecting Wood and Hardware
Choosing the right materials significantly affects the quality and sturdiness of shelves.
- Plywood: A popular choice, it’s strong and available in various thicknesses. Typically, ¾ inch thickness is suitable for most floating shelves.
- Wood Glue: Used for additional reinforcement. It provides a strong bond between the shelf and brackets.
- Screws: Opt for heavy-duty screws to securely attach the shelves to the wall. The length and gauge depend on the material used.
Consideration of aesthetics is also important. Choose finished or untreated wood based on preference. Polyurethane can be applied to enhance durability and appearance.
Safety Equipment and Preparation
Safety is paramount during construction. Proper equipment minimizes risks and enhances safety.
- Gloves: Protect hands from splinters and cuts.
- Safety Glasses: Shield the eyes from dust and debris.
- Dust Mask: Prevent inhalation of fine particles, especially when sanding.
Before starting the project, ensure the workspace is organized and well-ventilated. Clear away obstacles to prevent accidents. Proper safety measures create a safer working environment, facilitating smoother construction.
Step-by-Step Construction Guide
Building floating shelves requires precise measurements and careful assembly. The following steps will ensure a sturdy and aesthetically pleasing floating shelf that complements any space.
Measuring and Cutting the Wood
Begin by selecting the type of wood for the shelves. Common choices include pine, oak, or plywood. Measure the desired length and depth of the shelves based on the available wall space.
Use a stud finder to locate the wall studs for mounting. Mark these points with a pencil. This ensures the shelves will be securely anchored.
To cut the wood, use a table saw or circular saw for straight edges. Cut the pieces to size according to your measurements. Sand the edges to prevent splinters and achieve a smooth finish. The precision of these cuts will impact the final appearance of the shelves.
Assembling the Floating Shelves
Gather all necessary materials, including the wood pieces, brackets, and screws. Typically, floating shelves require heavy-duty brackets that fit inside the shelf.
Align the brackets with the inner edge of the wood. Using a drill, secure the brackets to the wood with screws. Ensure they are evenly spaced for balance.
For optimal strength, add a second layer of wood, or a backing piece, to reinforce the shelf. Apply wood glue along the joints before securing with screws. Allow the glue to dry completely for a solid bond.
Mounting the Brackets Securely
Mounting brackets requires precision to ensure the shelves remain level. Start by locating the studs using a stud finder.
Once identified, hold the bracket against the wall where the shelf will be placed. Use a level to ensure it is straight. Mark the screw holes with a pencil for drilling.
Drill pilot holes into the marked spots. This helps prevent the wood from splitting. Secure the brackets into the wall with appropriate screws, ensuring a snug fit. Checking for level throughout this process is crucial.
Attaching Shelves to the Wall
After the brackets are mounted, carefully place the pre-assembled shelf onto the brackets. Push the shelf back to ensure the bracket fits snugly inside.
Check the shelf for level once again. Adjust if necessary by shifting slightly before finalizing the placement.
Once satisfied, secure the shelf to the brackets using screws. This step prevents any potential shifting over time. Double-check that everything is tightly secured before placing items on the shelf. Maintaining stability is key to the longevity of the floating shelves.
Finishing Touches and Maintenance
Attention to detail in finishing touches enhances both the appearance and durability of floating shelves. Proper maintenance ensures that these shelves remain attractive and functional over time.
Sanding and Smoothing the Surface
Before applying any finish, it’s essential to sand the shelves thoroughly. Starting with coarse-grit sandpaper (around 80 grit) removes rough spots and imperfections. Following this, a medium grit (around 120 grit) smooths the surface.
An orbital sander is highly recommended for this task as it provides an even finish and saves time. After sanding, wipe down the shelves with a damp cloth to remove any dust particles. This step prepares the surface for staining or painting, ensuring better adhesion of the finish.
Applying Stain or Paint
Applying gel stain or paint can transform the look of the shelves. If opting for stain, it is vital to choose a color that complements the room’s decor. A foam brush or clean cloth can be used to apply the gel stain evenly, following the wood grain for the best results.
For painted shelves, using painter’s tape around the edges helps achieve clean lines. It’s advisable to apply multiple thin coats, allowing adequate drying time between each. This method ensures a professional finish that enhances the beauty of the shelves.
Protective Finishes and Upkeep
To protect the finish, applying a layer of polyurethane is recommended. This clear coating guards against scratches, moisture, and stains. A water-based polyurethane is ideal as it dries quickly and emits fewer fumes.
Maintaining the shelves involves regular dusting and occasional touch-ups. He or she should use a soft cloth and a gentle cleaner to avoid damaging the finish. Checking for wear and reapplying protective finishes as needed will extend the life of the floating shelves significantly.