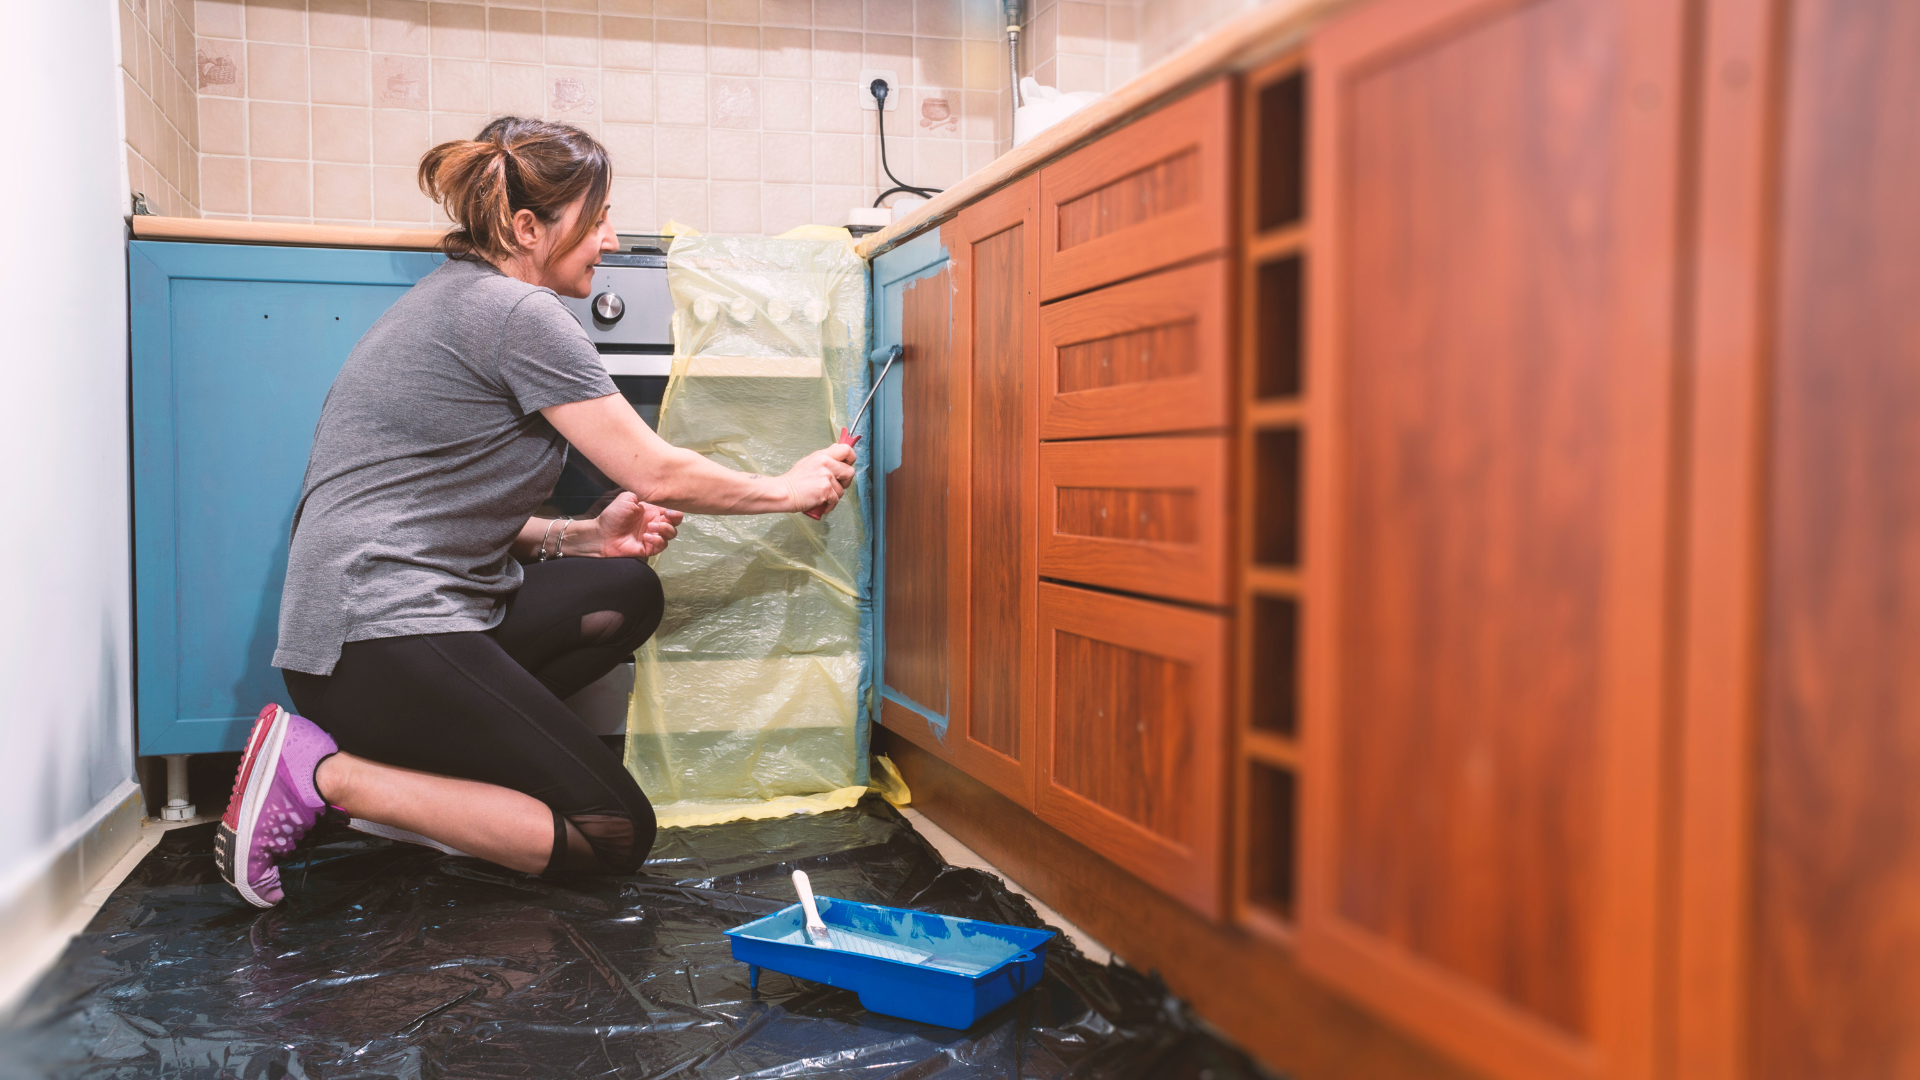
Repainting kitchen cabinets is an effective way to refresh your kitchen without the cost of a full remodel. The key to success is thorough preparation—cleaning, sanding, and priming the cabinets before applying paint. Proper surface preparation and using the right paint ensure a durable, professional-looking finish.
Choosing the right tools and materials also plays a crucial role. Using high-quality brushes or sprayers and paint designed for cabinetry can make the process smoother and the results longer-lasting.
This guide will walk through each step clearly, helping you achieve a fresh look with lasting impact. Whether your cabinets are wood, laminate, or another material, the right approach can transform your kitchen efficiently.
Preparing Kitchen Cabinets for Painting
Proper preparation ensures a smooth, durable finish. It involves thorough cleaning, careful removal of parts, and organized labeling to keep everything in order.
Cleaning and Degreasing Surfaces
Start by wiping down all surfaces with a degreaser or a mixture of warm water and mild dish soap. Focus on areas where grease and grime build up, like around handles and near the stove. Use a scrub brush or sponge to remove stubborn residues.
Rinse with clean water and dry thoroughly with a lint-free cloth. Cleaning removes contaminants that prevent paint adhesion. Avoid using harsh chemicals that can damage the wood or finish.
Finally, lightly sand the surfaces with fine-grit sandpaper (220-grit) to create a slightly rough texture. This helps the primer stick better.
Removing Cabinet Doors and Hardware
Use a screwdriver to remove all cabinet doors, drawers, and hardware such as knobs and hinges. Work slowly to avoid stripping screws or damaging them or the wood.
Place screws, hinges, and knobs in small containers or plastic bags. This prevents loss and keeps everything together.
Removing these parts makes painting easier and avoids uneven surfaces or paint on hardware. It allows you to paint inside edges and corners thoroughly for a professional finish.
Labeling and Organizing Components
Label each cabinet door and drawer with masking tape and a permanent marker. Mark the location on both the piece and the frame to ensure accurate reinstallation.
Create an inventory list to track all hardware and components. Keep hardware in labeled bags or containers corresponding to each door or drawer.
Organizing parts saves time during reassembly and prevents confusion. It also reduces the risk of mismatched doors or missing screws when the project is complete.
Repairing and Sanding Cabinets
Proper surface preparation is essential before repainting kitchen cabinets. This involves addressing any imperfections and creating an even texture for the paint to adhere to.
Filling Dents and Holes
Start by cleaning the cabinet surfaces to remove oil and dust. Use wood filler or putty to fill dents, scratches, and holes. Apply with a putty knife, pressing it firmly into the damaged area.
Allow the filler to dry completely, following the manufacturer’s recommended drying time. Once dry, check for smoothness and reapply if necessary to ensure a flat surface.
Sand the filled areas lightly after drying to blend them into the surrounding wood, avoiding any raised spots that will show through the paint.
Sanding Techniques for Smooth Surfaces
Begin sanding with a medium-grit sandpaper, such as 120-grit, to remove the old finish and rough spots. Sand in the direction of the wood grain to prevent scratches.
After the initial sanding, switch to a finer grit like 220 for a smooth surface. This step removes sanding marks and preps the wood for paint adhesion.
Use a sanding block or an orbital sander for consistent pressure. Wipe away dust periodically with a tack cloth or damp rag to monitor progress.
Choosing the Right Sandpaper
Selecting the correct sandpaper grit is critical. Start with 100- to 120-grit for stripping old paint or varnish, which removes surface layers efficiently.
Progress to 180- to 220-grit for final smoothing before painting. These finer grits minimize scratches and produce a surface that paint can grip well.
Avoid overly coarse grits, which can damage the wood, and avoid skipping finer grits, as this can lead to uneven paint finishes. Keep a range of grits on hand for different repair stages.
Selecting Paint and Primer for Cabinets
Choosing the right paint and primer is crucial for a durable and attractive finish on kitchen cabinets. Key factors include the type of paint, the appropriate primer for the cabinet material, and selecting a color and finish that balances style with functionality.
Types of Paint for Kitchen Cabinets
Cabinet paint must be hard-wearing and easy to clean. Acrylic latex paint is a common choice due to its durability and smooth finish. It resists chipping and is water-based, which means easier cleanup and less odor.
Oil-based paint offers a harder finish and a slightly longer drying time, but requires mineral spirits for cleanup. It’s ideal for cabinets subject to heavy use and stains.
Alkyd paints combine oil-based durability with water-based cleanup. They level out well and maintain a smooth surface, perfect for cabinets needing a flawless finish.
Primer Options for Various Materials
Primer adhesion depends on the cabinet surface. For wood cabinets, use a stain-blocking, oil-based, or shellac primer to prevent tannin bleed and improve paint grip.
For laminate or melamine cabinets, a bonding primer designed for slick surfaces is essential. These primers create a surface that paint can adhere to without peeling.
Metal and MDF cabinets require primers formulated to seal porous surfaces. Choose rust-inhibiting primers for metal to prevent corrosion under the finish.
Selecting Paint Colors and Finishes
Pick a paint color that fits your kitchen design but also performs well over time. Whites and light grays are popular for reflecting light and creating a clean look.
Satin or semi-gloss finishes are best for cabinets since they balance attractive sheen with durability. Satin hides fingerprints better, while semi-gloss cleans easily and resists moisture.
Avoid flat or matte finishes as they show stains and scuffs more readily and are harder to clean. Opting for a finish that suits your kitchen’s traffic level will extend the cabinet’s appearance and lifespan.
Applying Primer to Cabinets
Applying primer correctly ensures better paint adhesion and durability. It also helps create a smooth, even surface, which is essential for a professional look. Selecting the right primer and applying it properly are crucial steps in this process.
When and How to Use Primer
Use primer on raw wood, bare metal, or previously painted surfaces showing stains, scratches, or damage. Primer seals porous surfaces and prevents uneven paint absorption. It also improves paint adhesion, reducing the chance of peeling or chipping.
Before priming, clean cabinets thoroughly to remove grease and dust. Sand lightly with fine-grit sandpaper (220 grit) to create a slightly rough surface for better primer grip. Apply one or two coats of primer based on surface condition. Allow each coat to dry completely before sanding lightly to remove brush marks or bumps.
Priming Methods for a Uniform Base
Use a high-quality synthetic brush or a foam roller for smooth and even primer application. Brushes are ideal for detailed areas and edges. Rollers cover larger flat surfaces quickly without leaving a heavy texture.
Apply primer in thin, even coats to avoid drips and uneven patches. Work along the grain on wood surfaces. Maintain a wet edge while painting to prevent lap marks. After priming, let the cabinets dry fully and sand lightly to prepare for the paint coat.
| Tool Type | Best For | Tips |
| Synthetic brush | Edges, corners, detailed areas | Use light pressure, smooth strokes |
| Foam roller | Flat surfaces | Roll in one direction, avoid over-rolling |
Painting Kitchen Cabinets: Step-by-Step
Choosing the right tools and techniques impacts the finish quality and durability of your cabinets. Proper layering and consistent coverage ensure a smooth, lasting paint job.
Brush, Roller, or Spray Application
Decide on your application method based on cabinet size and detail. A brush is best for edges and intricate molding, ensuring paint reaches all corners. Choose a high-quality synthetic brush for water-based paint and a natural bristle for oil-based paint.
A roller works well on flat surfaces, providing faster coverage with fewer streaks. Use a smooth foam roller to avoid texture or bubbles in the finish.
Spraying offers the most even finish and is efficient for large surfaces. Use a high-quality airless sprayer, maintain the correct distance (usually 12-18 inches), and overlap each pass by 50% to avoid uneven spots.
Applying Multiple Coats
Applying thin, even coats prevents drips and ensures better adhesion. Start with a light base coat and allow it to dry fully according to the paint manufacturer’s instructions—usually 4 to 6 hours.
Sand lightly between coats using fine-grit sandpaper (220 grit) to remove imperfections and improve adhesion. Clean dust thoroughly with a tack cloth before applying the next coat.
Typically, two to three coats are needed for full coverage. Avoid thick coats, as they can run or crack when drying.
Ensuring Even Coverage
Work in small sections to maintain a wet edge and avoid lap marks. Apply paint in parallel strokes for uniformity, either horizontally or vertically, depending on the cabinet design.
Check coverage under good lighting to spot thin areas. Use a combination of spray and brush or roller touch-ups to cover missed spots without disrupting the overall finish.
Let each coat cure properly before handling to prevent fingerprints or uneven texture. Use consistent pressure when brushing or rolling for a smooth, even layer every time.
Drying and Curing Painted Cabinets
Proper drying and curing are essential to ensure durable, smooth cabinet finishes. Drying times vary based on paint type and environmental factors, and careful handling between coats prevents imperfections. The final curing process strengthens the paint and allows the cabinets to withstand regular use.
Recommended Drying Times
Drying times depend on the type of paint and the environmental conditions. Latex paints typically dry to the touch in about 1 hour, but need 4 hours before recoating. Oil-based paints take longer, usually drying to the touch in 6-8 hours and requiring at least 24 hours before another coat.
Temperature and humidity affect drying. Ideal conditions are between 65°F and 75°F with low humidity. High humidity slows evaporation, which can extend drying times considerably. Ensure good ventilation to speed up drying.
Handling Between Coats
Avoid heavy handling of the cabinets while the paint is drying. Touch the surfaces lightly or wait for recommended drying times before sanding or recoating. Use fine-grit sandpaper (220-320 grit) between coats to smooth out imperfections and improve adhesion.
Clean dust off the surfaces after sanding to avoid trapping debris in subsequent coats. Handle cabinet doors and drawers carefully to prevent chipping or denting the fresh paint.
Final Curing Process
Although paint may be dry to the touch, full curing takes longer. For latex paint, curing can take up to 30 days; oil-based paints may require up to 7 days. Avoid placing heavy items on shelves or scrubbing surfaces during this time.
Curing strengthens the paint film, improving resistance to scratches and stains. Maintain stable temperature and humidity levels during curing to prevent surface defects like bubbling or cracking.
Reassembling and Finishing Touches
Reassembling kitchen cabinets requires careful attention to detail to ensure durability and a professional look. Properly securing doors and hardware is essential, whether reusing old fixtures or installing new ones. Minor touch-ups may be needed to perfect the finish before use.
Reattaching Hardware and Doors
Begin by aligning doors on the cabinet frames. Use a screwdriver or drill to reattach hinges securely, checking for even gaps and smooth movement. If hinges were removed, tighten all screws to avoid wobbling.
Handle any stripped screw holes by filling with wood filler or toothpicks dipped in glue before reinserting screws. This creates a firmer hold. Once doors are hung, test each for proper clearance and adjust hinge screws as needed.
Reattach drawer fronts similarly, ensuring they glide smoothly. Take care not to overtighten, which can damage the wood or metal components.
Installing New Hardware for an Updated Look
When upgrading hardware, measure and mark drilling points before installation to maintain symmetry. Use a template or jig to ensure consistent hole placement.
Select durable screws that match the hardware finish to avoid corrosion. Pre-drill pilot holes to prevent wood splitting, especially in hardwood doors.
Install knobs, pulls, or handles with a firm grip, but avoid overtightening. Test each piece for comfort and alignment to improve both functionality and aesthetics.
Touching Up Imperfections
Inspect painted surfaces for drips, uneven spots, or chips after reassembly. Use fine-grit sandpaper to smooth any rough patches lightly.
Apply matching paint with a small brush or touch-up pen for precise corrections. Allow drying time between coats if multiple applications are needed.
Clean hardware carefully to remove any paint residue or dust. This final step ensures a polished, professional appearance before cabinet use.
Maintaining Repainted Kitchen Cabinets
Proper care extends the life and appearance of your freshly painted cabinets. Attention to cleaning techniques and protective measures prevents premature wear and preserves the finish.
Routine Cleaning Guidelines
Use a soft cloth or sponge with warm water and mild dish soap to clean painted cabinets. Avoid abrasive cleaners or scrub brushes that can scratch the surface.
Wipe spills immediately to prevent staining or paint damage. For grease removal, mix a solution of equal parts water and white vinegar; apply with a soft cloth and dry thoroughly.
Avoid soaking cabinet surfaces; excessive moisture can cause paint to peel or blister. Dry the cabinets after cleaning to maintain their finish and prevent water damage.
Preventing Scratches and Damage
Use felt pads or rubber bumpers on cabinet doors and drawers to minimize impact damage. Avoid leaning heavy objects against cabinet surfaces.
Be cautious when handling kitchen tools or pots near the painted surfaces. Scratches can occur easily from sharp or rough edges.
Regularly check and touch up small chips or scratches with matching paint to prevent further deterioration. Keep pets’ claws trimmed to avoid accidental scratching.
Common Mistakes to Avoid When Repainting Cabinets
Skipping proper surface preparation is a frequent error. Failing to clean, sand, and prime cabinets can lead to poor paint adhesion and peeling over time.
Using the wrong type of paint or finish causes durability issues. Cabinets should be painted with high-quality, semi-gloss or satin paint designed for kitchens, which resists moisture and wear.
Applying paint too thickly or not allowing enough drying time between coats can produce uneven surfaces and drips. Thin, multiple coats create a smoother finish.
Neglecting to remove hardware or tape off surrounding areas often results in messy edges and accidental paint spots on walls or countertops.
Over-sanding or using very coarse sandpaper may damage the cabinet surface. It’s best to use fine-grit sandpaper to create a gentle roughness for primer adhesion.
| Common Mistake | Effect | How to Avoid |
| Skipping cleaning or sanding | Paint peels, poor adhesion | Thoroughly clean and sand before painting |
| Using the wrong paint type | Paint chips, stains easily | Use kitchen-grade, durable paint |
| Thick coats, insufficient drying | Runs, uneven surface | Apply thin coats; wait recommended drying time |
| Not removing hardware | Messy edges, paint on hardware | Remove knobs and handles before starting |
| Over-sanding | Surface damage | Use fine-grit sandpaper with gentle strokes |
Avoid these mistakes to ensure a professional-looking, long-lasting cabinet repaint.