Creating thoughtful gifts can be easy and rewarding. A 10-minute DIY gift for the home can be a perfect solution when time is short but creativity is abundant. These handmade gifts not only show care but also add a personal touch to any space.
From homemade candles to personalized coasters, there are numerous options that require minimal materials and time. Each idea provides a unique way to infuse warmth and character into a home, making them excellent for holidays, housewarming events, or just because.
By choosing a DIY approach, anyone can enjoy the satisfaction of crafting a gift that is both practical and meaningful. With just a few common supplies and a bit of creativity, these homemade gift ideas are within reach for anyone looking to impress without spending hours on a project.
Selecting the Right Materials
Choosing the right materials is crucial for creating a successful 10-minute DIY gift for the home. Opting for sustainable options and locating affordable supplies enhances the project without compromising quality.
Sustainable and Eco-Friendly Options
When selecting materials, consider using sustainable and eco-friendly options. Items like recycled wood, natural fibers, and non-toxic paints contribute to a healthier environment. For example, a reclaimed wood planter or jute rope can create charming decor while reducing waste.
Materials to consider:
- Bamboo: A fast-growing plant that is both strong and sustainable.
- Recycled Paper: Ideal for gift wrapping or crafting cards.
- Organic Cotton: For projects like homemade kitchen towels.
Using eco-friendly materials not only benefits the planet but also provides unique character to DIY gifts. These options appeal to environmentally conscious recipients.
Locating Affordable Supplies
Finding affordable supplies can significantly reduce the cost of DIY projects. Local craft stores often feature sales or discounts, while dollar stores can provide great finds. Thrift shops can yield unexpected treasures as well.
Tips for sourcing materials:
- Check Online Marketplaces: Websites like Etsy or local community boards often have deals on new or second-hand materials.
- Join Community Groups: Exchange or share resources with fellow DIY enthusiasts.
- Bulk Purchases: Many stores offer discounts on bulk buying, which can lower costs for projects involving multiple items.
Budget-friendly materials ensure that creating a DIY gift remains an enjoyable experience without financial strain.
Step-by-Step Crafting Guides
These simple crafts provide an easy way to create thoughtful gifts for the home. Each project requires minimal materials and can be completed in about ten minutes.
Creating Photo Coasters
This project transforms cherished photos into functional coasters. Start by gathering materials: four ceramic tiles, printed photos, Mod Podge, a foam brush, and felt pads.
- Cut the Photos: Trim photos to match the size of the tiles. Ensure the edges are smooth.
- Apply Mod-Podge: Use the foam brush to spread a thin layer of Mod-Podge onto the tile.
- Place the Photo: Center the photo on the tile and press down firmly. Smooth out any bubbles.
- Seal it: Once the photo is secure, cover it with another layer of Mod Podge. Allow to dry completely.
- Add Felt Pads: Stick felt pads on the bottom to protect surfaces.
These coasters add a personal touch to any home setting.
Mixing a Hot Chocolate Blend
A homemade hot chocolate mix makes a delightful gift during colder months. The ingredients are straightforward and easy to measure.
Ingredients:
- 1 cup cocoa powder
- 2 cups powdered sugar
- 1 cup powdered milk
- ½ cup chocolate chips
- 1 tsp salt
- 1 tsp vanilla extract (optional)
Combine Ingredients:
In a large bowl, mix cocoa powder, powdered sugar, powdered milk, and salt. Stir until fully incorporated.
- Add Chocolate Chips: Fold in chocolate chips for extra richness.
- Portion the Mix: Divide the mixture into jars, leaving space for stirring.
- Label: Create a festive label with instructions: “Mix ¼ cup blend with hot water or milk.”
This thoughtful blend will warm anyone’s heart.
Assembling Christmas Cookie Cans
Creating cookie cans can spread holiday cheer. Gather empty cans, decorative paper, string, and freshly baked cookies.
- Prepare the Cans: Clean and dry empty cans. Wrap the decorative paper around them, securing them with glue or tape.
- Fill with Cookies: Bake or purchase a batch of cookies. Carefully layer them in the can, separating them with parchment paper.
- Seal and Decorate: Place the lid on the can and wrap the string around it. Attach a festive tag with a message.
- Personal Touch: Optionally, include a few cookie recipes on the tag for added sentiment.
This gift combines creativity with deliciousness, perfect for the holiday season.
Personalizing Your Gifts
Personalizing gifts adds a unique touch that can make any occasion special. Thoughtful details reflect the recipient’s personality, elevating the sentiment behind the gift.
Custom Etching for Wine Glasses
DIY etched wine glasses are a great option for personalized gifts. They can be easily created with a few materials, such as glass etching cream and stencils.
To begin, she should clean the glasses thoroughly. Once dry, apply adhesive stencils, which can be found at craft stores. After positioning the stencil, she can apply a layer of etching cream.
Follow the manufacturer’s instructions regarding the application time. After rinsing the cream off, remove the stencil to reveal a beautifully etched design. This process allows for customization, from names to intricate patterns, making the gift memorable and practical.
Decorating Gift Containers
Another effective way to personalize gifts is through decorative containers. Choosing unique boxes or bags can enhance the presentation and reflect the recipient’s style.
Start by selecting a container that suits the occasion. She can use plain boxes or craft paper bags as a base. Next, embellishments such as ribbons, stickers, or printed labels can add a personal flare.
For a festive touch, consider adding a handwritten note or card inside the container. These small details transform an ordinary gift into something special and thoughtful. Personal decorations make the gift memorable and enhance the overall aesthetic.
Packaging and Presentation
Creative packaging enhances the appeal of DIY gifts. Attention to detail in the presentation can make even the simplest item feel special. Here are two essential aspects to consider.
Crafting Attractive Gift Boxes
Utilizing decorative boxes can elevate any DIY gift. For food gifts like cookies or homemade jams, choose boxes that are food-safe. Wrapping the gift in colorful tissue paper adds an extra layer of charm.
For items like whipped body butter or peppermint sugar scrub, clear jars with lids look appealing. Adding a custom label enhances the personal touch. Use twine or ribbons for added elegance.
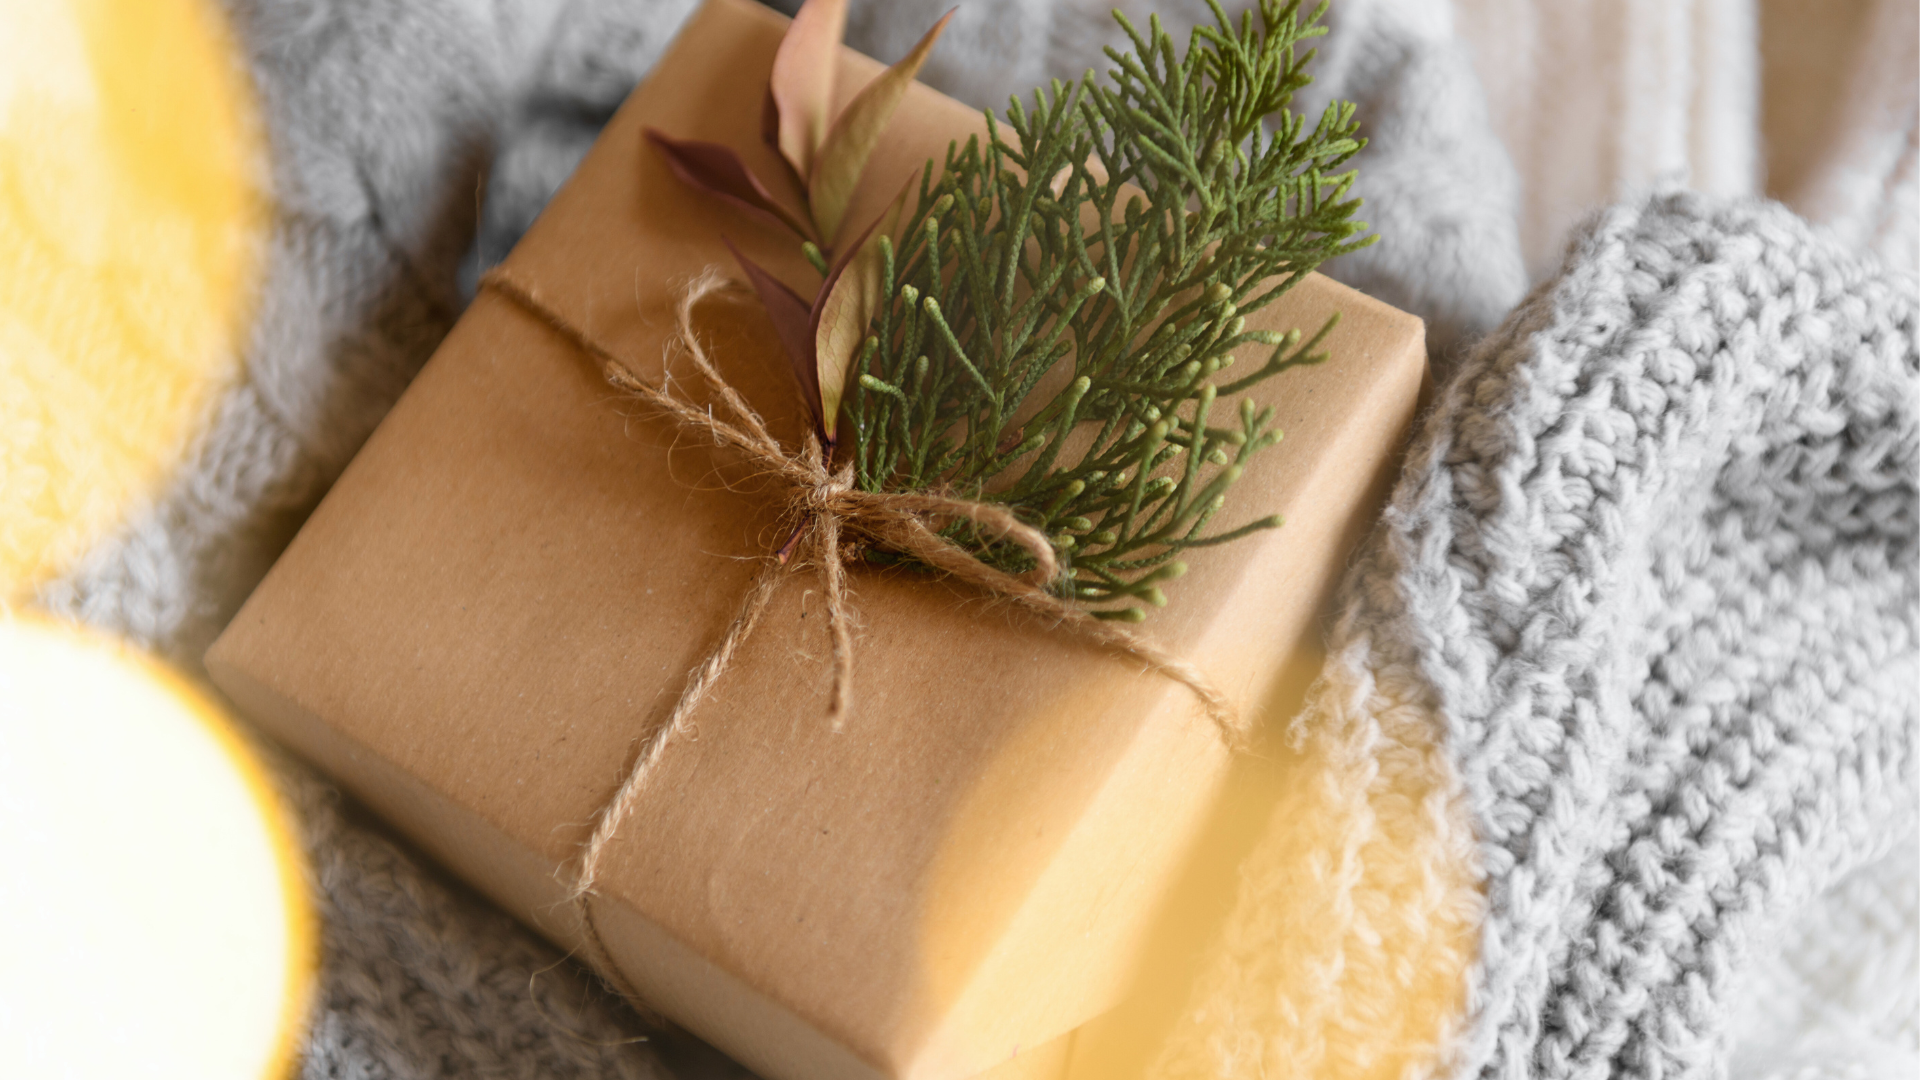
Consider using materials like kraft paper or patterned cardstock for a rustic or festive allure. Always ensure the box is the right size to prevent damage to the gift inside.
Adding Final Touches for a Festive Look
Final touches complete the gift’s presentation. Adding a handwritten note can personalize the gift. Choose festive colors like red, green, or gold for added holiday spirit.
Incorporate seasonal embellishments, such as pinecones or sprigs of evergreen. For a simple yet elegant option, use a satin ribbon to tie around the gift box or jar.
Including small decorative items, such as stickers or dried flowers, can make the presentation stand out. For shower steamers, wrapping them individually in organza bags adds a delicate touch that complements the overall design.